If your IT department has already installed Talkatoo on the server, and configured the server to accept remote audio, this page will help you get any local Windows workstation setup to use Talkatoo.
If it has not yet been installed, there are a couple of options for installing on a Windows server.
Throughout this article, I will be referencing the local and remote computers. The local computer is the one you are physically in front of. The remote computer is the computer on the other end. This is often a server, but not always and I may use server and remote machine interchangeably.
Instructions
- For Talkatoo to work over a remote connection, it has to be sent audio.
- To use one of our dictation microphones, Talkatoo has to be told it is connected.
- You can select the desired microphone locally if more than one is available.
- See the limitations of using this method with a Mac.
In order to pass the audio through, you must be using Microsoft Remote Desktop. With very few exceptions, third party remote tools such as TeamViewer or LogMeIn do not allow passing audio through to the remote computer. See the article on these third party tools for more information.
If you only plan to use the Talkatoo MobileMic, the rest of this document does not apply. See here for steps to configure the MobileMic.
Pass the Audio Through
This step needs to be taken on the local computer, not the server where you see Talkatoo. Usually if you move the mouse to the top and middle of the screen, you'll see the following bar you can use to close the connection
The default setting on most servers does not allow audio to be received, so this is something that needs to be configured by IT. See here for detailed instructions.

Press the X and OK to the message about closing. If hovering the mouse at the top of your screen does not make the bar appear, press CTRL+ALT+Home.
- Right click on the Remote Desktop icon on your local computer that you use to connect (Remote Desktop should be closed)

- Click Edit*.
- Click the Local Resources tab at the top.
- Under Remote Audio, click Settings
- Under Remote Audio Recording, set it to Record from this computer
- Click OK
- Click General
- Click Save** - This will save these settings to this specific Remote Desktop icon. You should use this icon going forward.
- Connect to your Remote Connection and now it should work going forward on this computer when using this RDP icon.
*
Note that if the local computer is Windows 11, you will have to click on Show More Options before you see Edit. -png.png)
**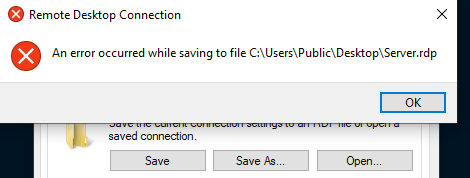
In some cases you may not be able to save this here because it's trying to save in the 'Public' or shared Desktop folder, and you do not have permission to overwrite the file. If this happens:
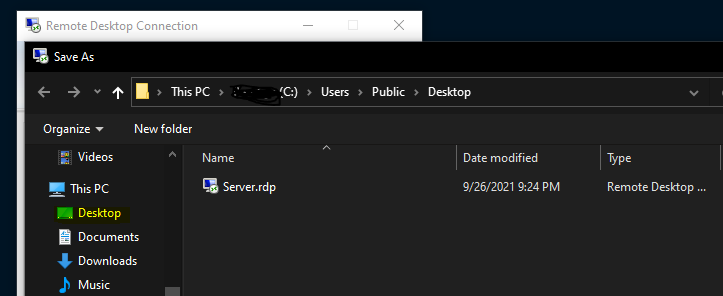
- Click Save As instead
- Click Desktop on the left side.
- Change the name of the file by adding Talkatoo or some other word, as both icons will still show up, but it's important you use this new one.
Thin Clients
If your clinic is using thin clients instead of full Windows PCs, the goal will be the same, though the steps may be slightly different because of the many different thin client OSs. If you are unable to find this setting, contact your IT department as they will best be able to help you with this setting.
Configuring Talkatoo for the Microphone
After configuring the RDP connection, and connecting to the server, when you launch Talkatoo, it will display the following:
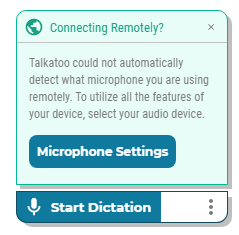
When Talkatoo detects the 'Remote Audio' source, which is what we configured in the previous step, it will display the pop-up above.
Talkatoo doesn't know what microphone you're using when connecting remotely, so if you're using a built-in mic or anything other than a Philips SpeechMike or Olympus microphone, you can ignore this setting.
- Click Microphone Settings. If you've accidently closed it or it's not appearing, go to the settings page by clicking on the 3 dots.
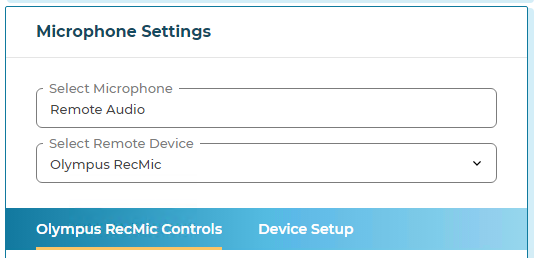
- Select the microphone you're using from the Device List, or leave it on I'm using a different microphone if it's not one of the ones listed above.
Choosing the correct microphone
When using Talkatoo installed on a server, and accessing it over Remote Desktop, Remote Audio will always use the default microphone on your local computer. If you are on a desktop without another microphone attached, you can ignore this part. If not, you will need to set the microphone you want to use as the default device.
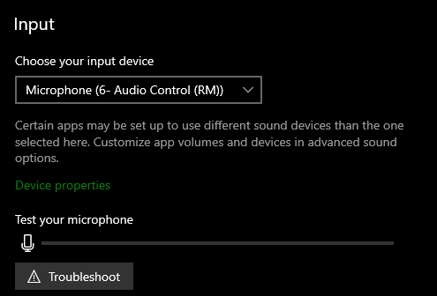
On your local computer, check the default microphone:
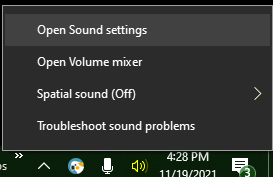
- Right click the speaker icon on the bottom right of your screen and choose Open Sounds Settings
- Ensure the microphone you want is selected under Input
Test It
Open a case file, document, or anywhere else you can type on your remote computer, and start Talkatoo. If using one of our dictation microphones, press the red button on the microphone, and ensure Talkatoo starts. If using a different microphone, use your mouse to click the Start Dictation button.
Once it shows Listening  speak into your microphone. The waveform should move as you speak, and the words you say should appear on the screen in real time. If not, check whether the microphone itself is picking up audio on the local computer.
Remoting from a Mac
If you are going to be accessing Talkatoo remotely from a Mac, there is currently no way to use the Start/Stop button on one of our dictation microphones (Olympus RecMic or Philips SpeechMike). The microphone itself will work, but you would have to use the mouse to Start and Stop dictation because of the way keypresses are handled. If you want to use the buttons on the mic, the better solution is to install Talkatoo locally.
Configure Server to Accept Audio
There are 2 places on Windows Server where the audio redirection may need to be allowed; the registry, and Group Policy Editor. Sometimes a restart is required before the change will take effect.
GPO
The following Group Policy setting should be enabled to allow Audio redirection:
Configuration >> Administrative Templates >> Windows Components >> Remote Desktop Services >> Remote Desktop Session Host >> Device and Resource Redirection >> Allow audio recording redirection.
Registry
The following registry subkey should be set to 0 to enable the Audio Recording Redirection feature, or 1 to disable it:
HKLM\SYSTEM\CurrentControlSet\Control\Terminal Server\WinStations\RDP-Tcp
fDisableAudioCapture REG_DWORD
Services / Reboot
At this point, if Remote Audio is still not showing up in Windows Sound as the Input, there are a couple of Windows Services you can try starting/restarting, with a reboot being the last resort.
Ensure that Windows Audio is running, start it if not. Set it to automatic if it is currently disabled.
Restart Windows Audio Endpoint Builder.
If you run into any problems or any of these steps are not working as expected, don't hesitate to reach out to our support department or start a live chat over on the bottom right.
Not the remote setup you were looking for? If Talkatoo is actually installed on your local computer, not the server, see here.